How to Detail Your Own Car Exterior
Detail Your Own
Car Exterior.
Learning how to detail your own car exterior requires proper equipment, quality products, and systematic techniques. This guide covers what you need, how to do it safely, and—importantly—when to call the professionals instead.
Years Experience
Hours DIY Time
Risk Level
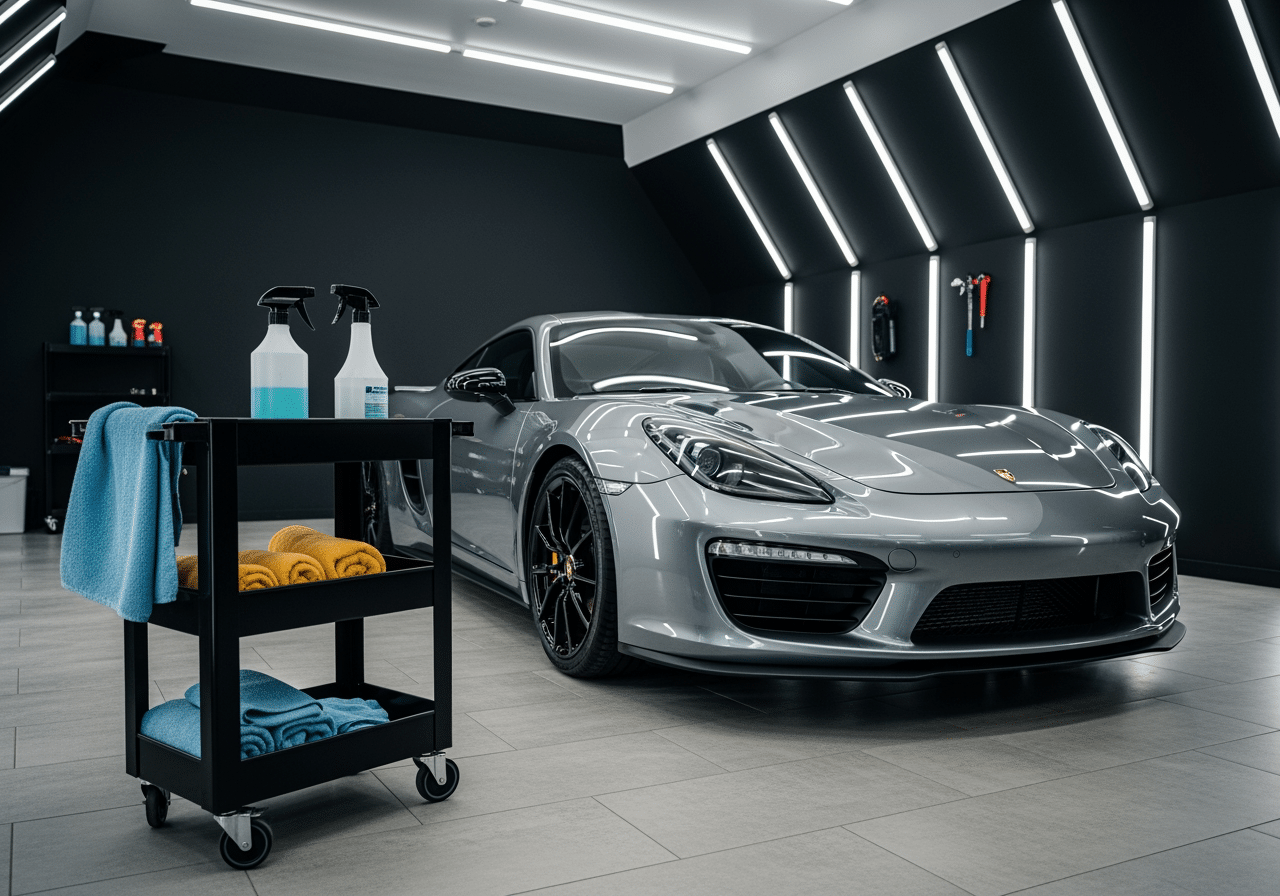
Essential Equipment to Detail Your Own Car Exterior
Learning how to detail your own car exterior begins with understanding the necessary equipment and products. While DIY detailing can be rewarding, it requires significant investment in proper tools and materials to achieve results without damaging your vehicle’s paint.
At Race Track Auto Center located at 9840 Westpark Dr, Houston, TX 77063, we often guide customers through DIY basics while being honest about the value of professional service. We see many vehicles damaged by improper DIY techniques—and we’d rather help you avoid that.
Before investing in equipment, consider this: initial DIY setup often exceeds $800, requires significant learning time, and carries real risk of paint damage. For many Houston drivers, professional service is simply more cost-effective.
Power Equipment
Proper tools are essential—consumer-grade alternatives produce inferior results.
- Dual-action polisher: $200-500
- Polishing pads (various): $50-100
- Pressure washer: $150-300
- Foam cannon: $30-80
Products & Chemicals
Professional-grade products cost more but prevent damage.
- Compounds & polishes: $60-120
- Clay bar kit: $20-40
- Wax/sealant/ceramic: $50-300
- Wash soap & accessories: $50-100
Supplies & Safety
Don’t forget the essentials that make the job possible and safe.
- Microfiber towels (20+): $40-80
- Buckets with grit guards: $30-50
- Safety gear (gloves, mask): $30-50
- Detailing brushes: $20-40
Minimum proper investment.
“While we appreciate DIY enthusiasm, learning how to detail your own car exterior properly requires extensive knowledge and expensive equipment. Most Houston drivers find professional service more cost-effective than risking paint damage.”
How to Detail Your Own Car Exterior: Step-by-Step
If you’re committed to DIY, follow this process carefully—each step carries risk.
Preparation & Wash
Rinse thoroughly, then use two-bucket method with quality car soap. Work top to bottom. Warning: Improper washing causes most DIY swirl marks—it’s where damage begins.
Decontamination
Clay bar treatment removes bonded contaminants. Requires proper lubrication and gentle technique. Risk: Insufficient lubrication creates marring that requires correction.
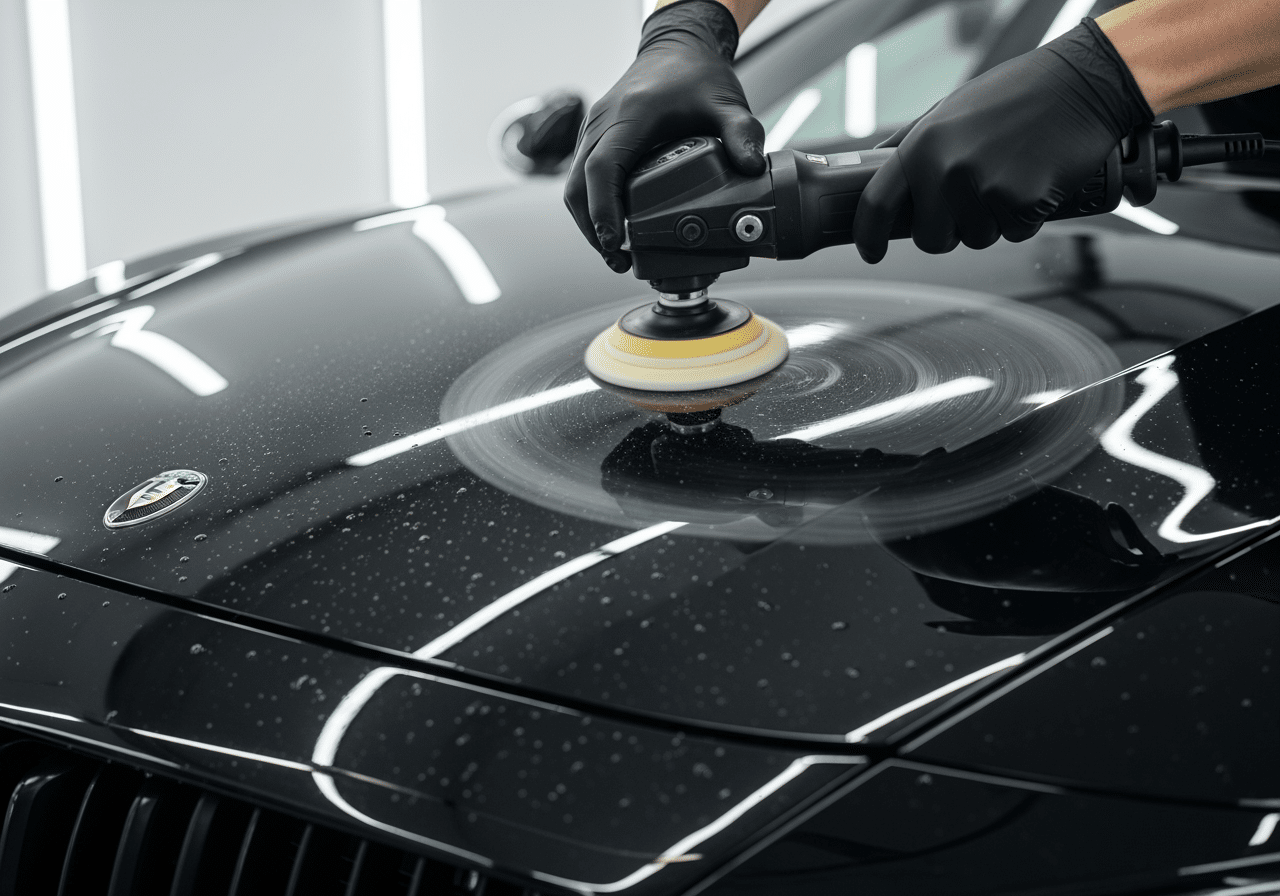
Paint Correction
This is where most DIY attempts fail. Requires expensive polisher and years of practice. High Risk: Burning through clear coat is irreversible—requires professional repaint.
Protection Application
Apply wax, sealant, or ceramic coating using proper technique for even coverage. Note: Ceramic coating mistakes are extremely difficult to fix and costly to remove.
Wheels & Glass
Clean wheels with appropriate products (acid-free for most wheels), dress tires, treat glass. Caution: Wrong wheel cleaner damages finishes permanently.
Final Inspection
Check work in various lighting conditions. Touch up missed spots. Reality: Most DIYers discover problems at this stage that require professional correction.
DIY vs. Professional: The Real Comparison
We want to give you an honest picture of what DIY detailing really involves versus professional service.
Time Investment
DIY: 10+ hours for full detail (longer while learning). Professional: 4-6 hours, and you do something else.
True Cost Comparison
DIY: $800+ equipment plus $200/year products. Professional: $300-500/service with zero equipment costs.
Results Quality
DIY: Inconsistent, improving with practice. Professional: Consistent, guaranteed quality from day one.
Risk Factor
DIY: Real risk of paint damage costing $500-2,000+ to fix. Professional: Zero risk—insured and guaranteed.
Results
Why Houston Makes DIY Detailing Harder
Heat Complications
Products flash-dry before you can work them. Ceramic coating fails if applied in Houston heat. You need shade, but garages get hot too.
Humidity Issues
Coating curing is affected by humidity. Water spots form instantly. Products behave differently than instructed in humid conditions.
Unpredictable Weather
Sudden storms ruin hours of work. Coatings need 24-48 hours cure time—Houston weather rarely cooperates that long.
Contamination Rate
Industrial fallout and pollution bond quickly. Your DIY detail degrades faster here than anywhere else, requiring more frequent work.
Houston’s climate makes professional indoor detailing significantly more practical than DIY.
What You Can DIY vs. What Needs Professionals
Be honest about your skill level and the risks involved.
Safe for DIY
- check Basic washing (two-bucket)
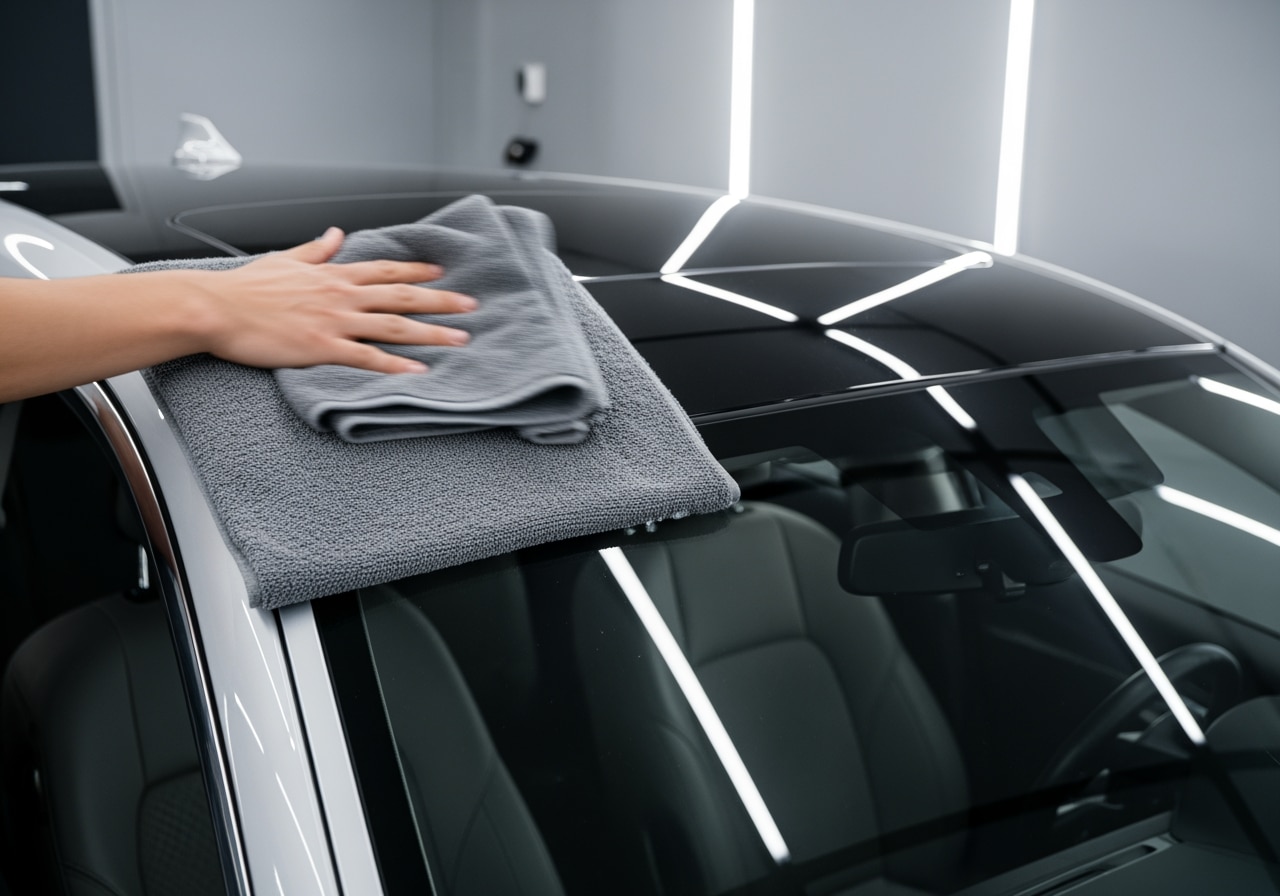
- check Drying with microfiber
- check Simple wax application
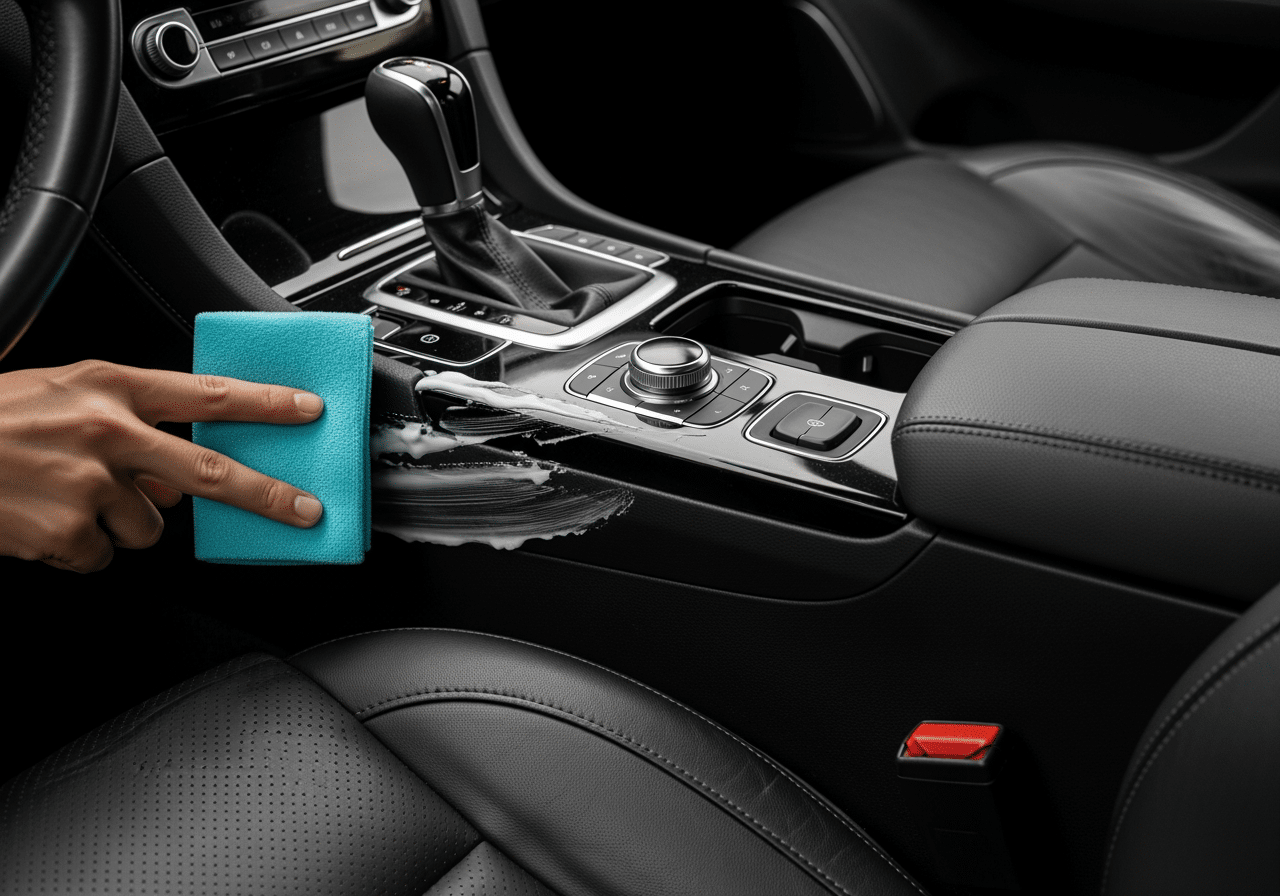
- check Interior vacuuming
- check Glass cleaning
- check Tire dressing
Leave to Professionals
- check Paint correction/polishing
- check Ceramic coating
- check Swirl mark removal
- check Oxidation restoration
- check Scratch removal
- check Water spot etching
From DIY Attempts to Professional Results
“I watched YouTube tutorials and bought a cheap polisher. Created holograms all over my black paint. Cost me $600 to have Race Track fix my ‘free’ DIY attempt. Should have just paid them $350 from the start.”
“Spent $900 on ‘professional-grade’ equipment and products. After 12 hours of work, my car looked okay—not great. One visit to Race Track and I understood what professional results actually look like. Never going back to DIY.”
“I do my own maintenance washes now—they taught me the right way. But for correction and coating? Professionals only. The difference in results is massive, and I value my weekends too much for 10-hour details.”
Skip DIY—We Serve All of Houston
Professional detailing is closer and more convenient than you think.
Westchase
Bellaire
Galleria
Memorial
River Oaks
West University
Sugar Land
Katy
The Woodlands
Energy Corridor
Pearland
Missouri City
Save Your Weekend
Drop off your car at 9840 Westpark Dr and let us handle the work.
DIY Difficulty by Problem Type
| Problem | DIY Difficulty | Risk Level | Recommendation |
|---|---|---|---|
| Surface Dirt | Easy | Low | DIY appropriate |
| Water Spots | Moderate | Medium | DIY with caution |
| Light Swirl Marks | Difficult | High | Professional recommended |
| Paint Oxidation | Very Difficult | Very High | Professional only |
Easy
Low
DIY appropriate
Moderate
Medium
DIY with caution
Difficult
High
Professional recommended
Very Difficult
Very High
Professional only
DIY Questions
Honest answers about detailing your own car exterior.
Can I really get professional results with DIY detailing?
expand_more
What’s the most common DIY detailing mistake?
expand_more
Is the $800+ equipment investment worth it?
expand_more
What parts of detailing should I definitely NOT attempt?
expand_more
Why is Houston particularly challenging for DIY detailing?
expand_more
What should I DIY vs. leave to professionals?
expand_more
Let Professionals Handle It
Save your weekends, protect your paint, and get guaranteed results. Our ASE-certified technicians deliver professional outcomes without the DIY risks and time investment.